
Introduction
As a maker, I have been doing quite a lot of random stuffs here and there, and sometimes it is cool to be able to record the process to post on social media.
However, as lone maker, I don't have 3 hands to both work and take photos. A complicated video set up with light and tripod will hinder my work, so most of the time, I can only show shaky photos of the product instead.
So, there is a need for a rig to put a camera (phone / dslr ) with proper lighting but spacious enough for me to work. I don't really want to spend a bomb on this, so cost is a factor, too.
Therefore, my set up:
Bill of material:
- 1 Ikea LACK table. The cheapest table possible (10$) . I got 20 of this table for free from another maker http://www.ikea.com/sg/en/catalog/products/00193664/#/40284214
- a pair of IKEA angle bracket, 1$ each. I got it for free from my last Ikea hack for my friend, after he decommissioned the hack. http://www.ikea.com/sg/en/catalog/products/20172892/
- Some long screw. You can get them from Ikea
- 1 piece of plywood (A3 size and above). Mine was Art Friend plywood, measure 300x400mm
- LED ring from Sim lim tower (18$). Comes with LED driver, so I only need to wire it.
- Some baking wax paper.
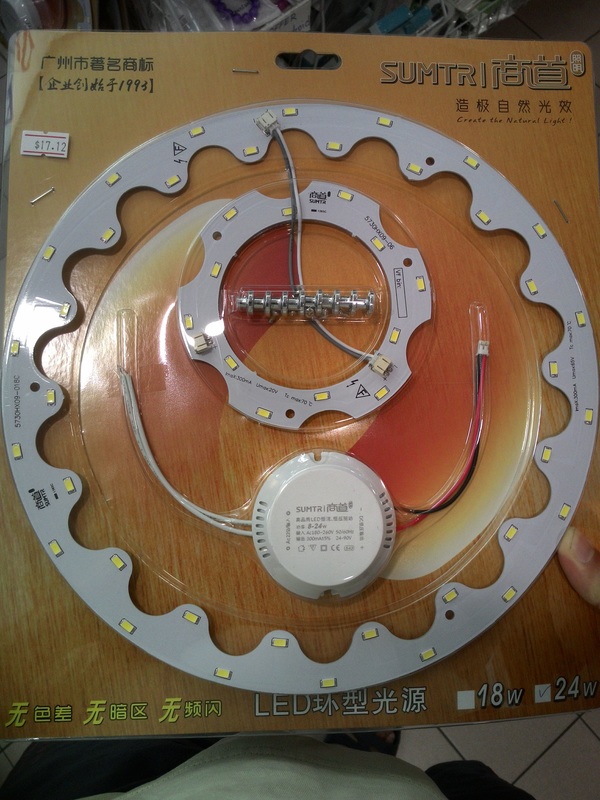
LED ring from Simlim Tower, can be found in any level.
Step 1: Construct the frame
The ikea table comes with separate legs. Joint every 2 legs together to get 2 L bar. Use angle bracket to increase support.
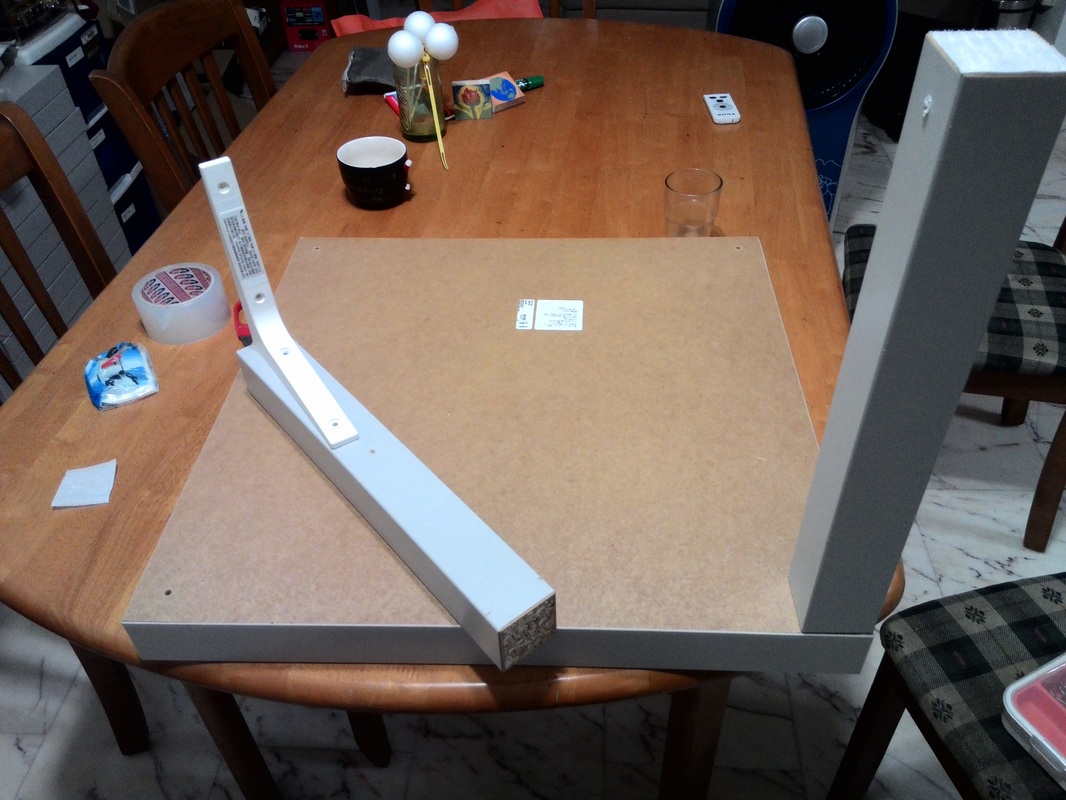 Attach the bracket on 1 leg. |  Joining them together to form a giant L bracket. |
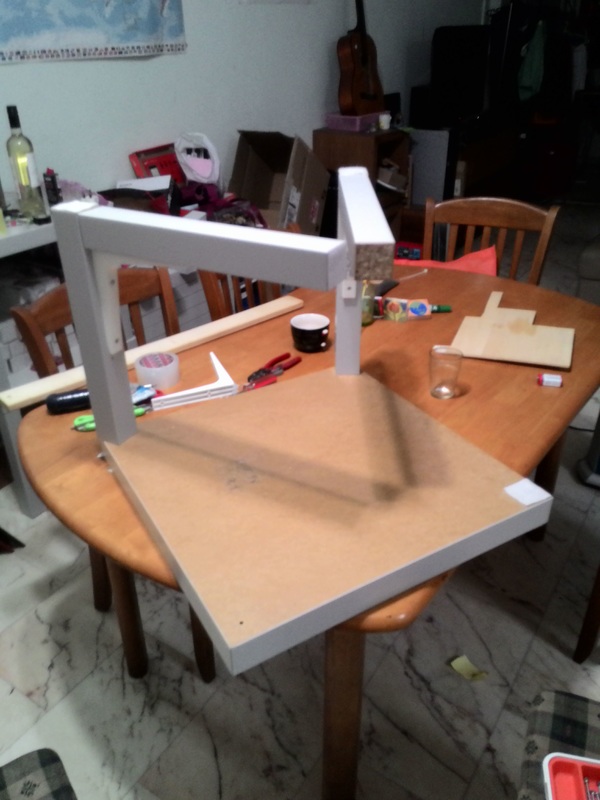
After 2 Big L bracket. you can see how the rig is forming. If you don't mind subpar lighting, you can immediately put up your phone on top and start using.
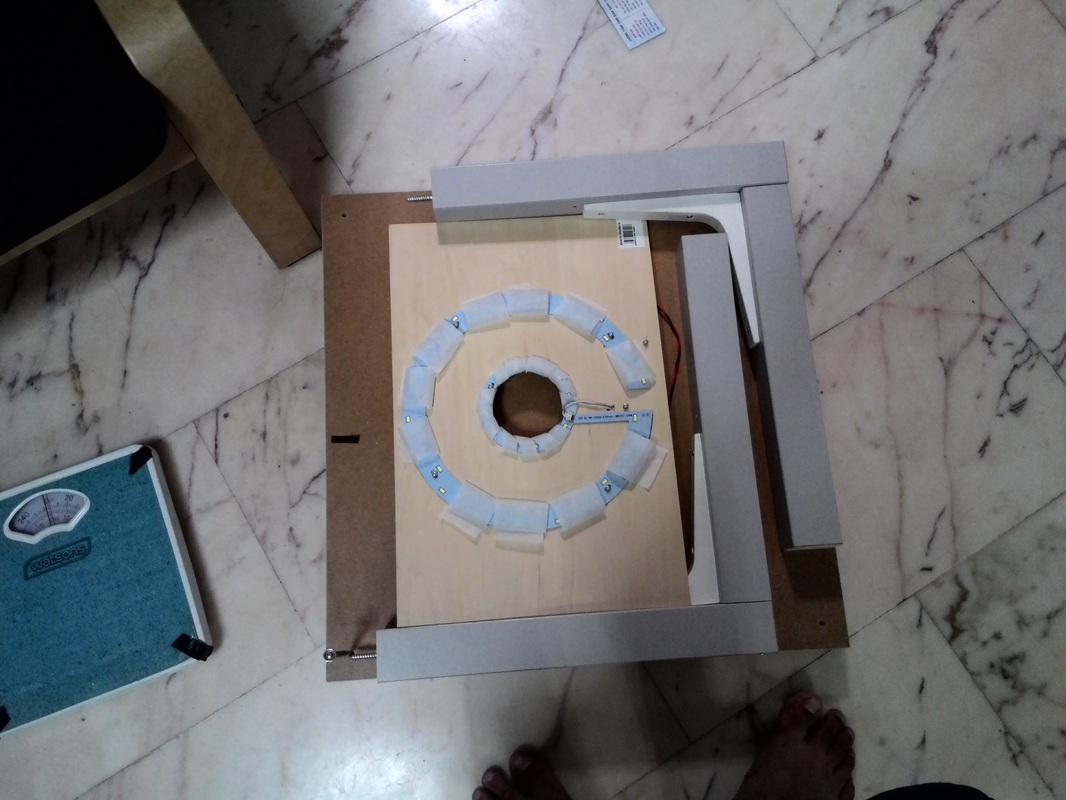
Step 2: Construct the lighting board
Take the LED ring, use the inner ring as marking, cut a circle inside your plywood.
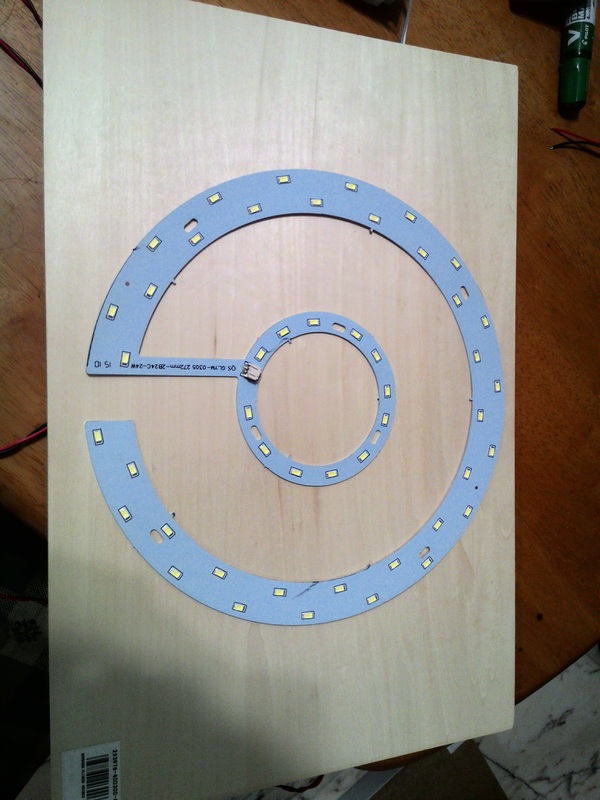
Attach the LED ring to the plywood board by screws or glue or wire or whatever mean you can. After that, put the lighting board on top of the L brackets. DONE.
For fanciness, you can cut a a few baking wax paper to form a dome above each LED, so the lighting will be even softer than it already is.
For fanciness, you can cut a a few baking wax paper to form a dome above each LED, so the lighting will be even softer than it already is.

Sample Video
The system is fairly portable and space saving, because it can be easily disassemble, flat pack and store away.
I don't recommend gluing or fixing the LED board on top of the L brackets , because you can't flat pack it any more.
Also, the LED board can be use for other uses, especially studio portrait lighting.
Also, the LED board can be use for other uses, especially studio portrait lighting.
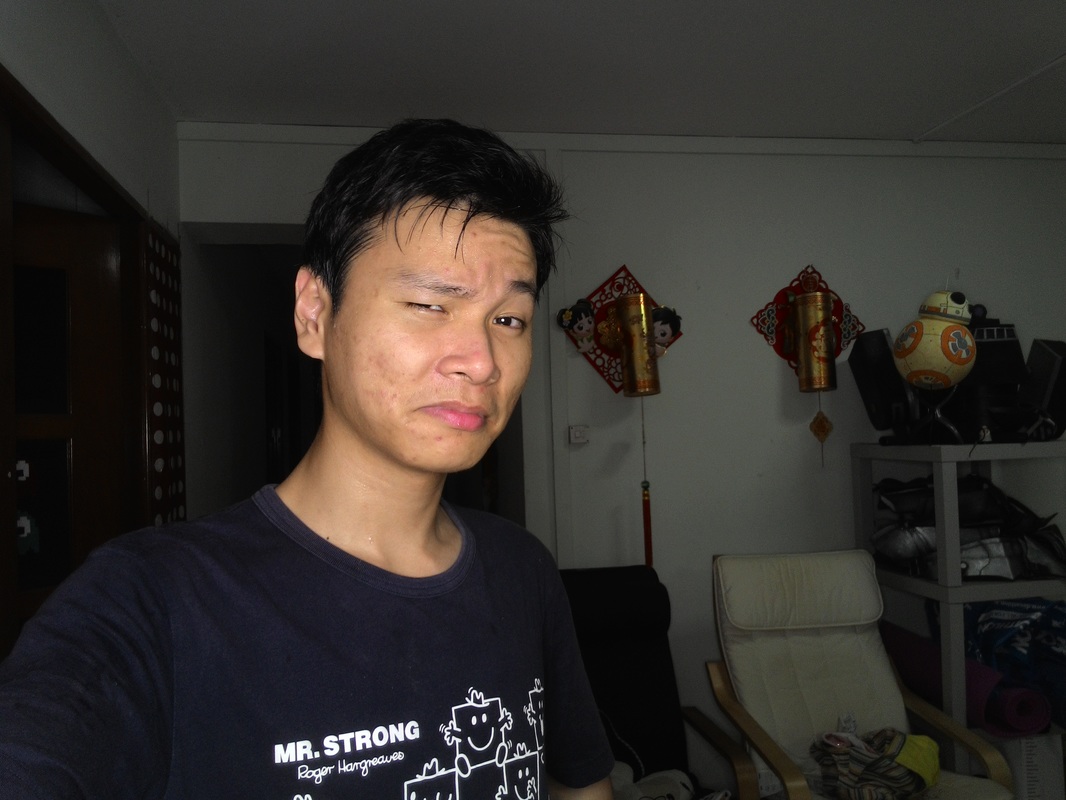
My house mate as test subject

Selfie
 RSS Feed
